

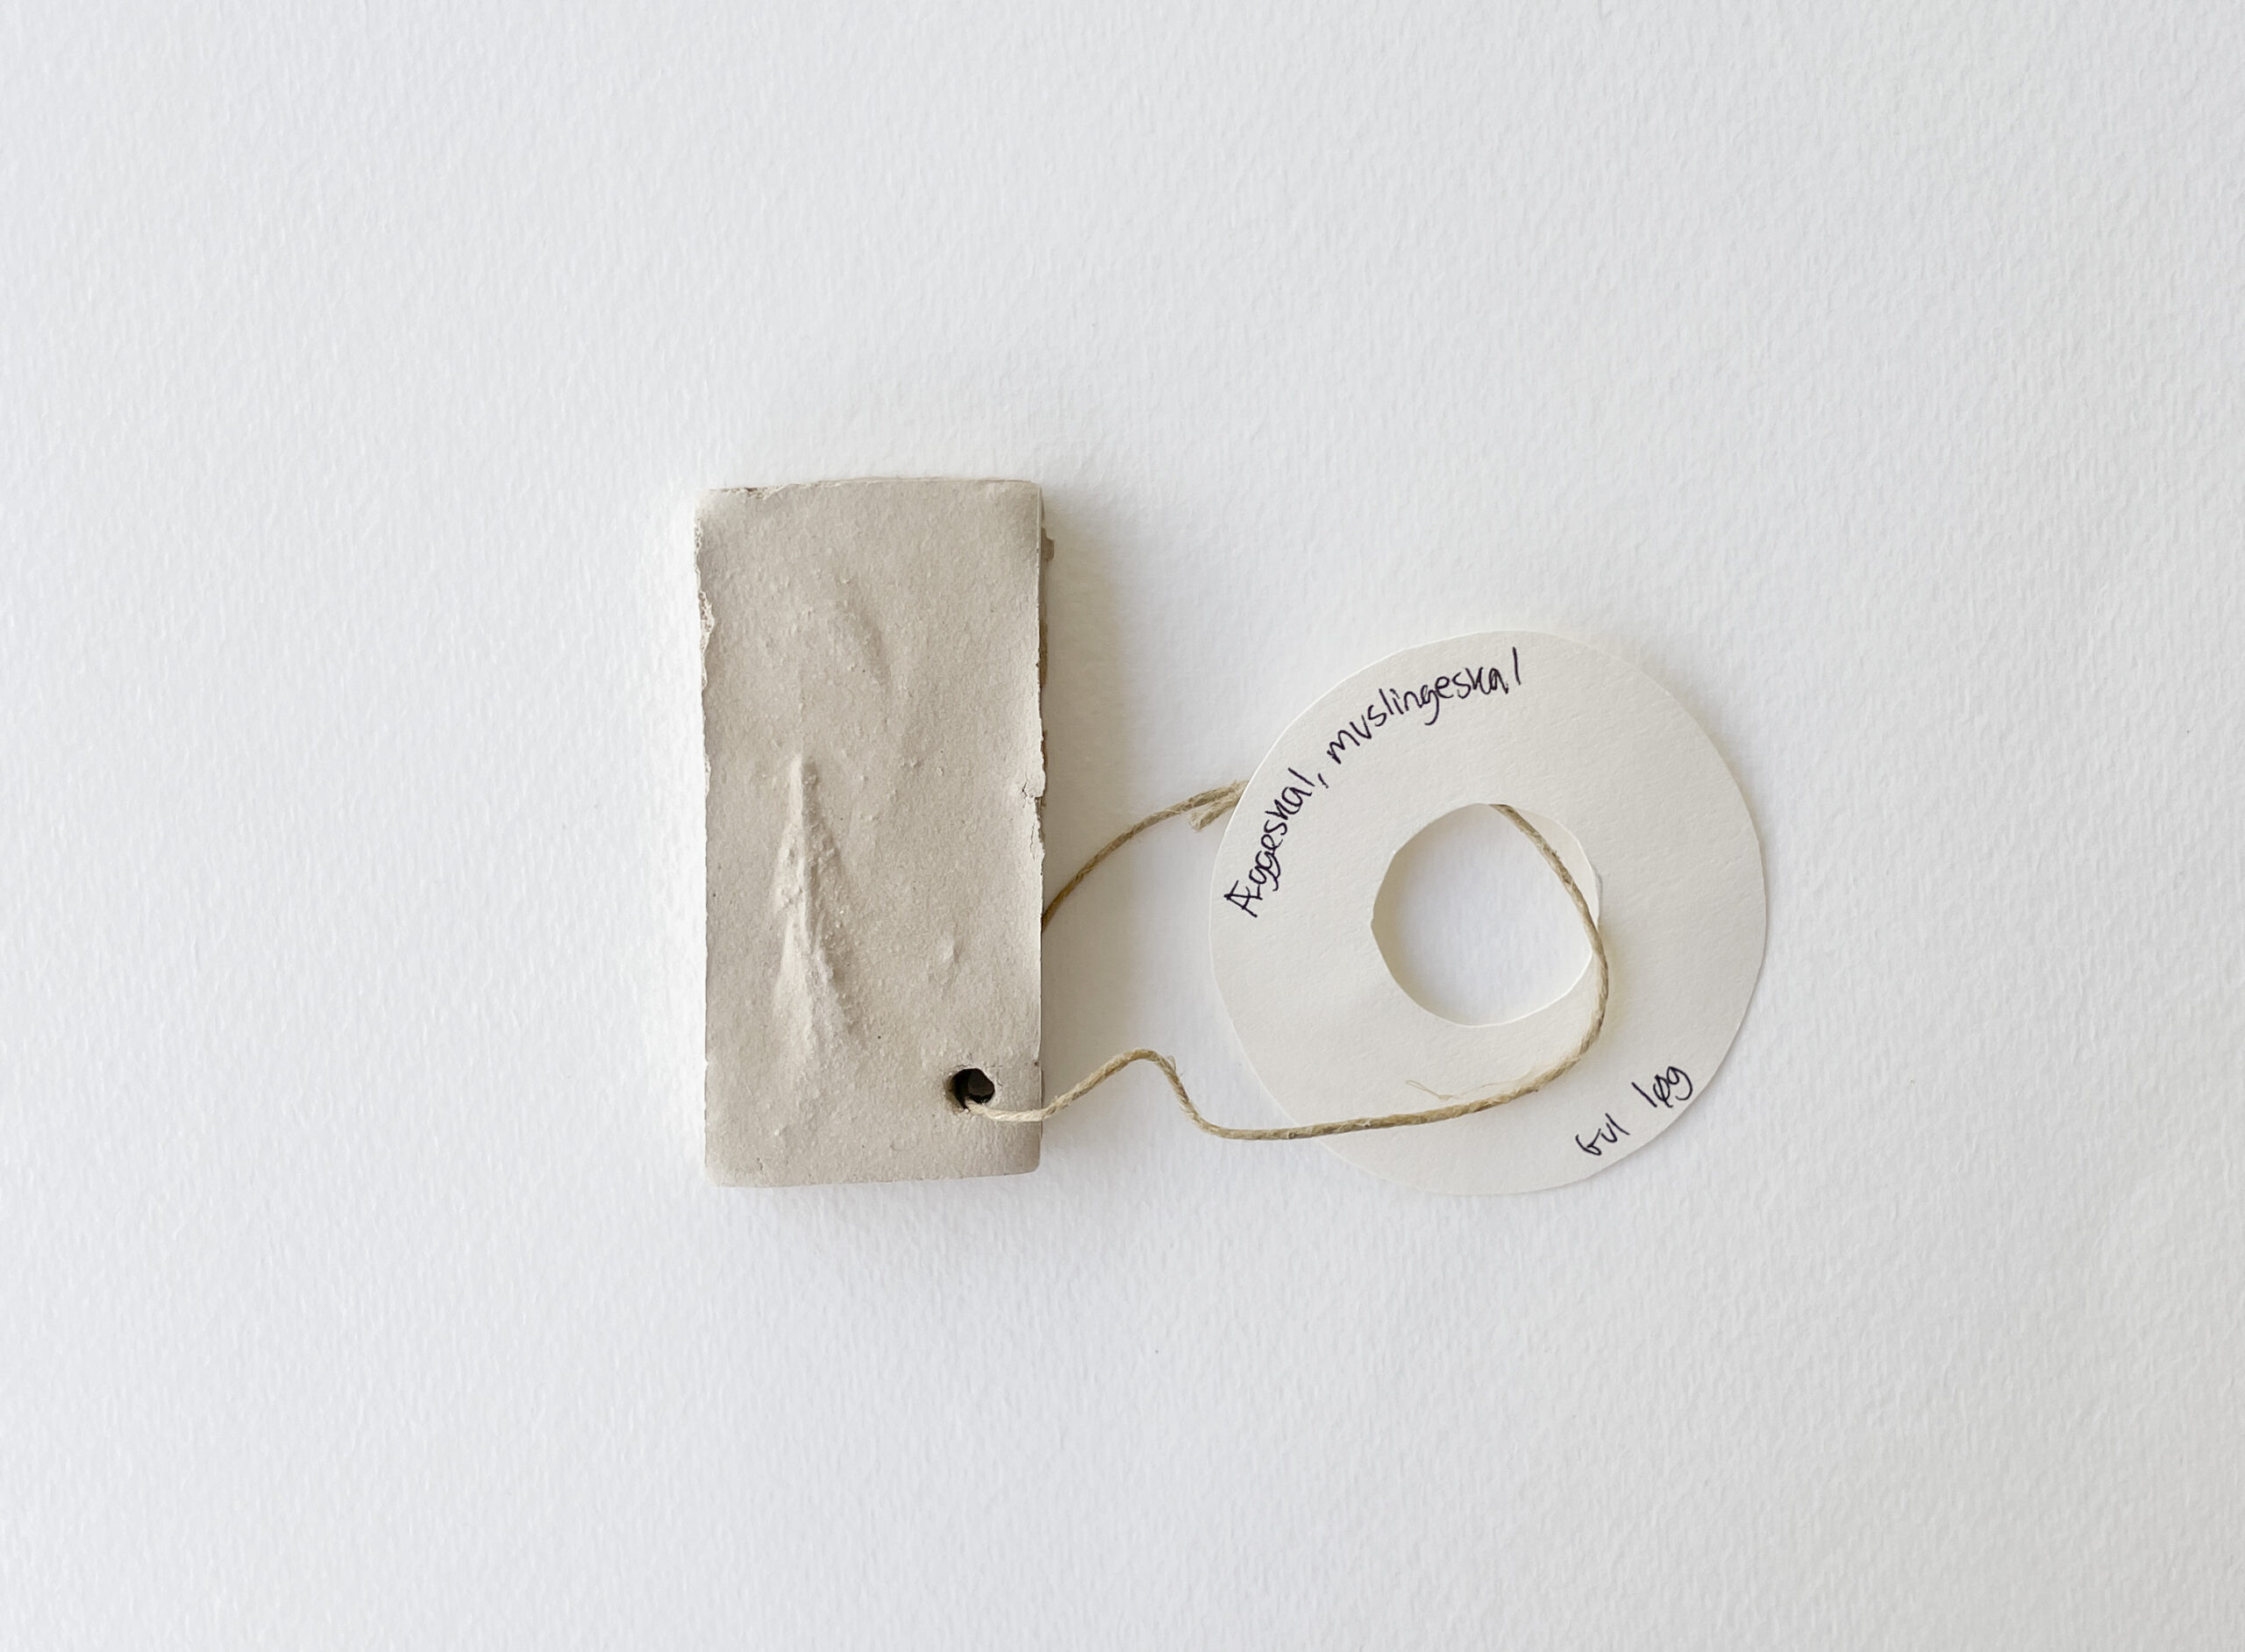
Properties & Qualities
Application
Art
Qualities
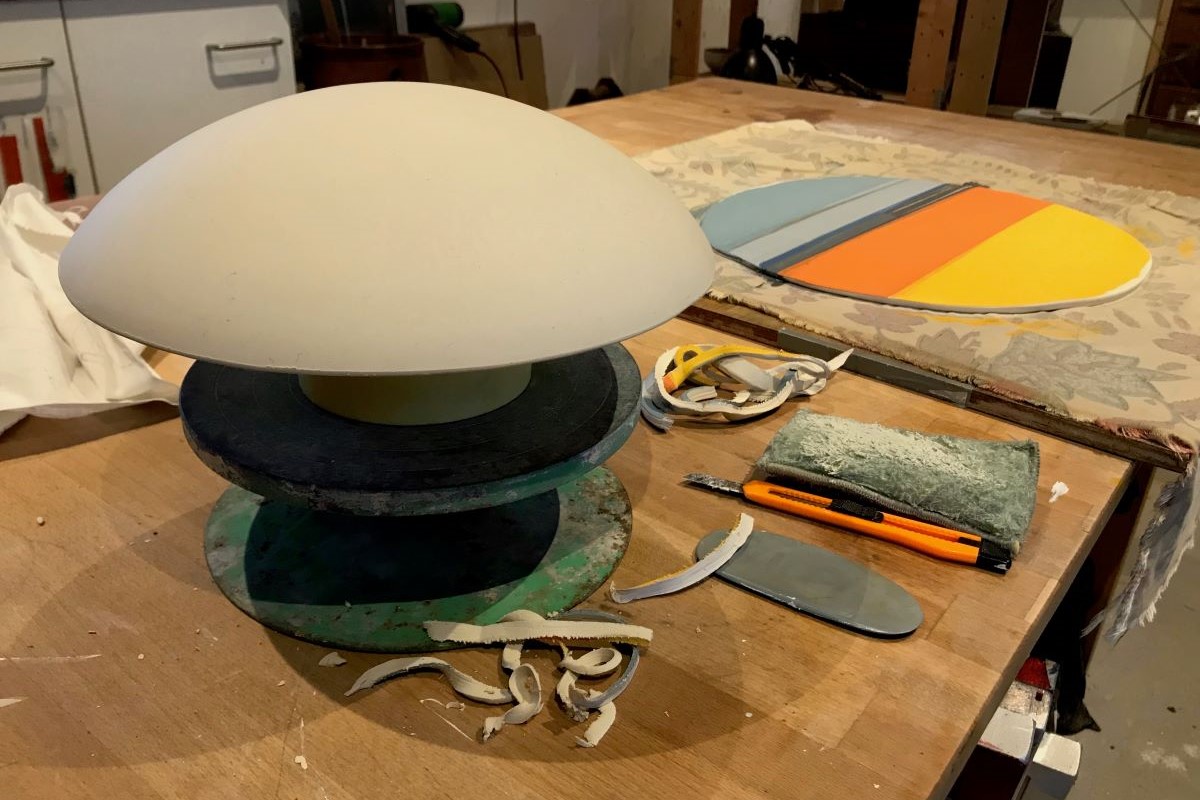
3D Colourful Smooth
Colour
Blue Grey Orange Yellow
Sample Information
Date of Creation
September 12th, 2022
Dimensions
Diameter 30cm, height 5cm
Weight
N/A
Culture & Context
| When I first embarked on researching the possibilities of the application of the printed surface to ceramics in 1988, most of my findings were in the form of screen-printed ceramic transfers. These onglaze transfers were used in the ceramic industry as one of the primary methods of decorating industrial ceramics. I was interested in approaching using ceramic print in a craft context as a one-off, with qualities much more akin to fine art print or surfaces that had a depth of colour and sensitivity. It became clear why the research post had been created, there was very little evidence of makers at this time using print in a craft context, especially in the UK. In the ceramics department, I was able to gain knowledge about screen-printing; I was interested in experimenting with this process in relation to hand ceramics. Very quickly, I was excited by the qualities this technique revealed – my journey of discovery began. I started to specialise in direct screen-printing on clay in its raw, bisque and fired states. Very early on my research attracted interest from other ceramics departments nationally and internationally. I was invited to deliver workshops and demonstrations about the technique of direct screen-print on clay. In the mid-nineties, ceramic print became popular with ceramic artists and makers, mostly in the form of onglaze transfers, where the technique was used by individual artists as a means of personal expression. Today there is relatively few ceramic artists and makers who use the process of direct screen-printing on clay. |
Process & Production
| Direct screen-printing the image onto the clayThe prepared clay slab is placed on a table.Wooden batons are placed on the table either side of the clay slab.The screen is positioned over the clay on the wooden batons to ensure there is a space between the clay and the underside of the screen.The colour mixture is placed on the screen away from the stencil, pressure is applied using a squeegee, to pull the colour across the image area.The remaining colour is collected and returned to the jar; the screen is washed in cold water and left to dry.Further printing is carried out with different colours. Forming the bowlThe printed clay is cut to size and is placed – design side down – over the plaster mould.Gradually, the clay is smoothed over the mould to form the bowl using a rubber kidney.Surplus clay is trimmed off and the edges are smoothed; it is then left to become firm.When the bowl is leather-hard, it is removed from the mould and left to dry. |
Recipe Details
| Mixing the colour
The underglaze colour is placed on a sheet of glass, a well is made in the centre of the colour and a ceramic water-based medium and hardener are added. A palette knife is used to mix the colour, medium and hardener until it is fully integrated and smooth. |
Credits
Craft Maker
Vicky Shaw
Library Contributor
Vicky Shaw
Photographer
Vicky Shaw
Other Materials
-

Painted Tiles
decorating ceramic tiles
-

Workshop outcome: Introduction to Wreath-making
Seasonal Wreath made by novice participant of the Craft Hub Wreath-Making Workshop delivered by Kirsten Tanner of “Queen of the Meadow”
-

SEMI-RIGID NECKLACE WITH AMETHYST
-

Brown and Yellow stripes – airbrush
-

Clay pumpkin lantern
Hand built clay pumpkin
-

Hoar-frost – Silk Scarf
-

Farewell
A piece of almost 80-year-old wood is transformed into the “union”…
-

Leather and stripes – sample #25
Weaving – Texture – Material Aesthetics
-
Bio-composite pastel #26
Bio-material – solid – textured – experimental