


Properties & Qualities
Application
Lighting Sample Making
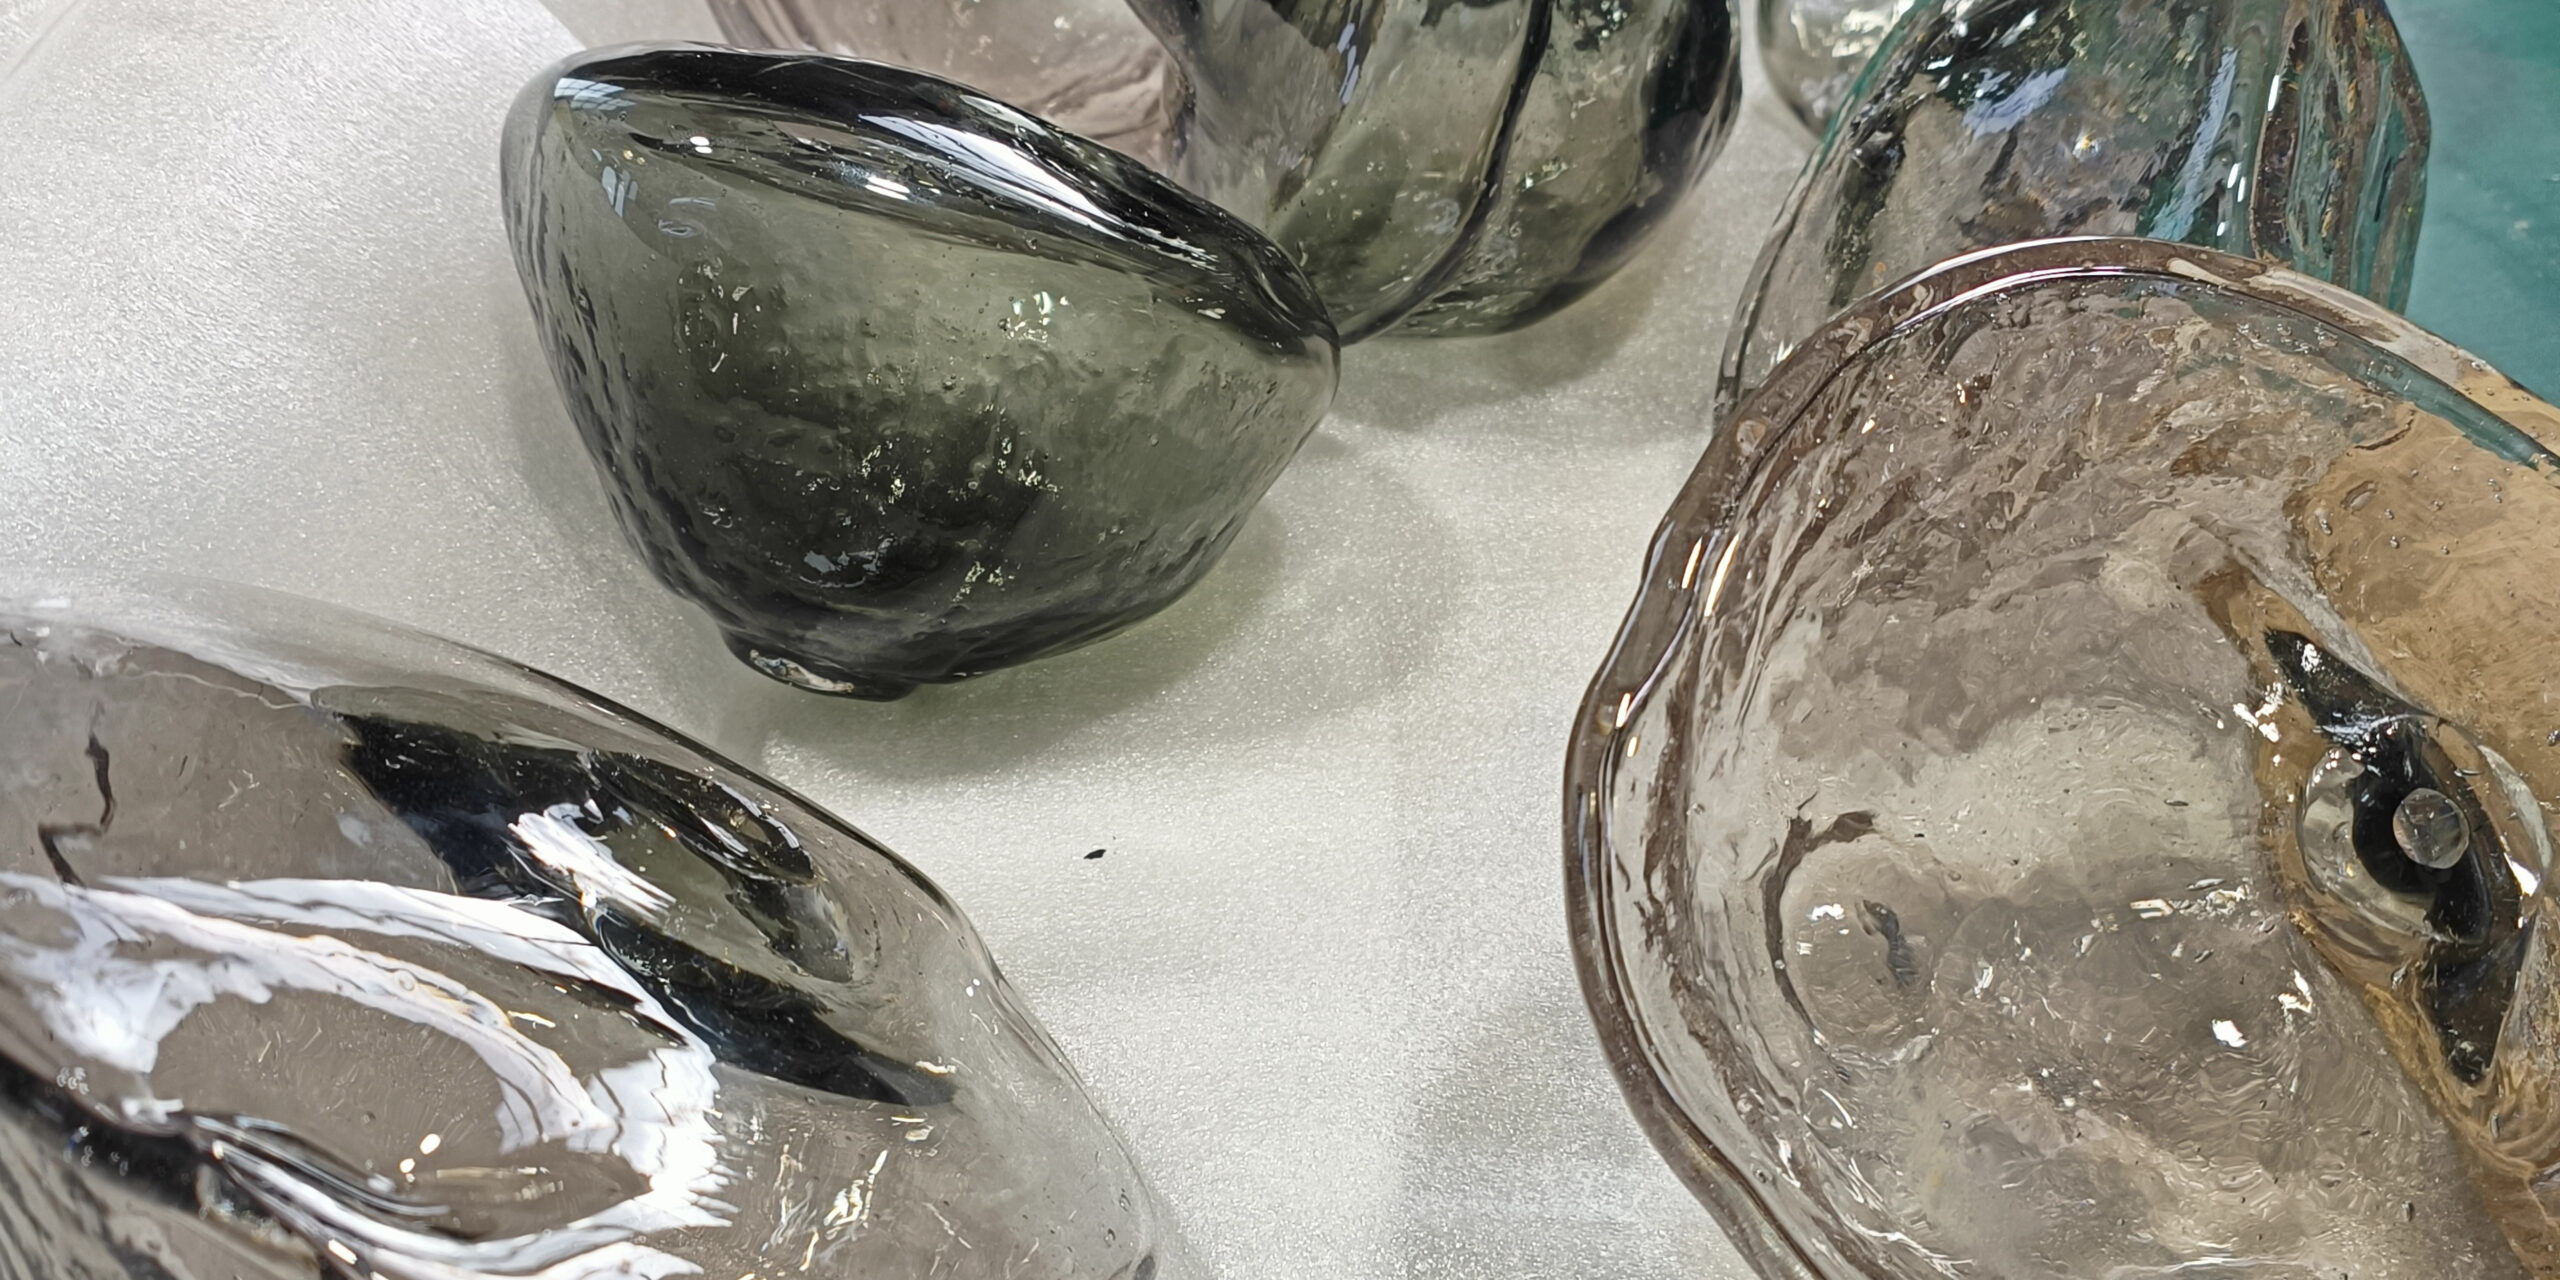
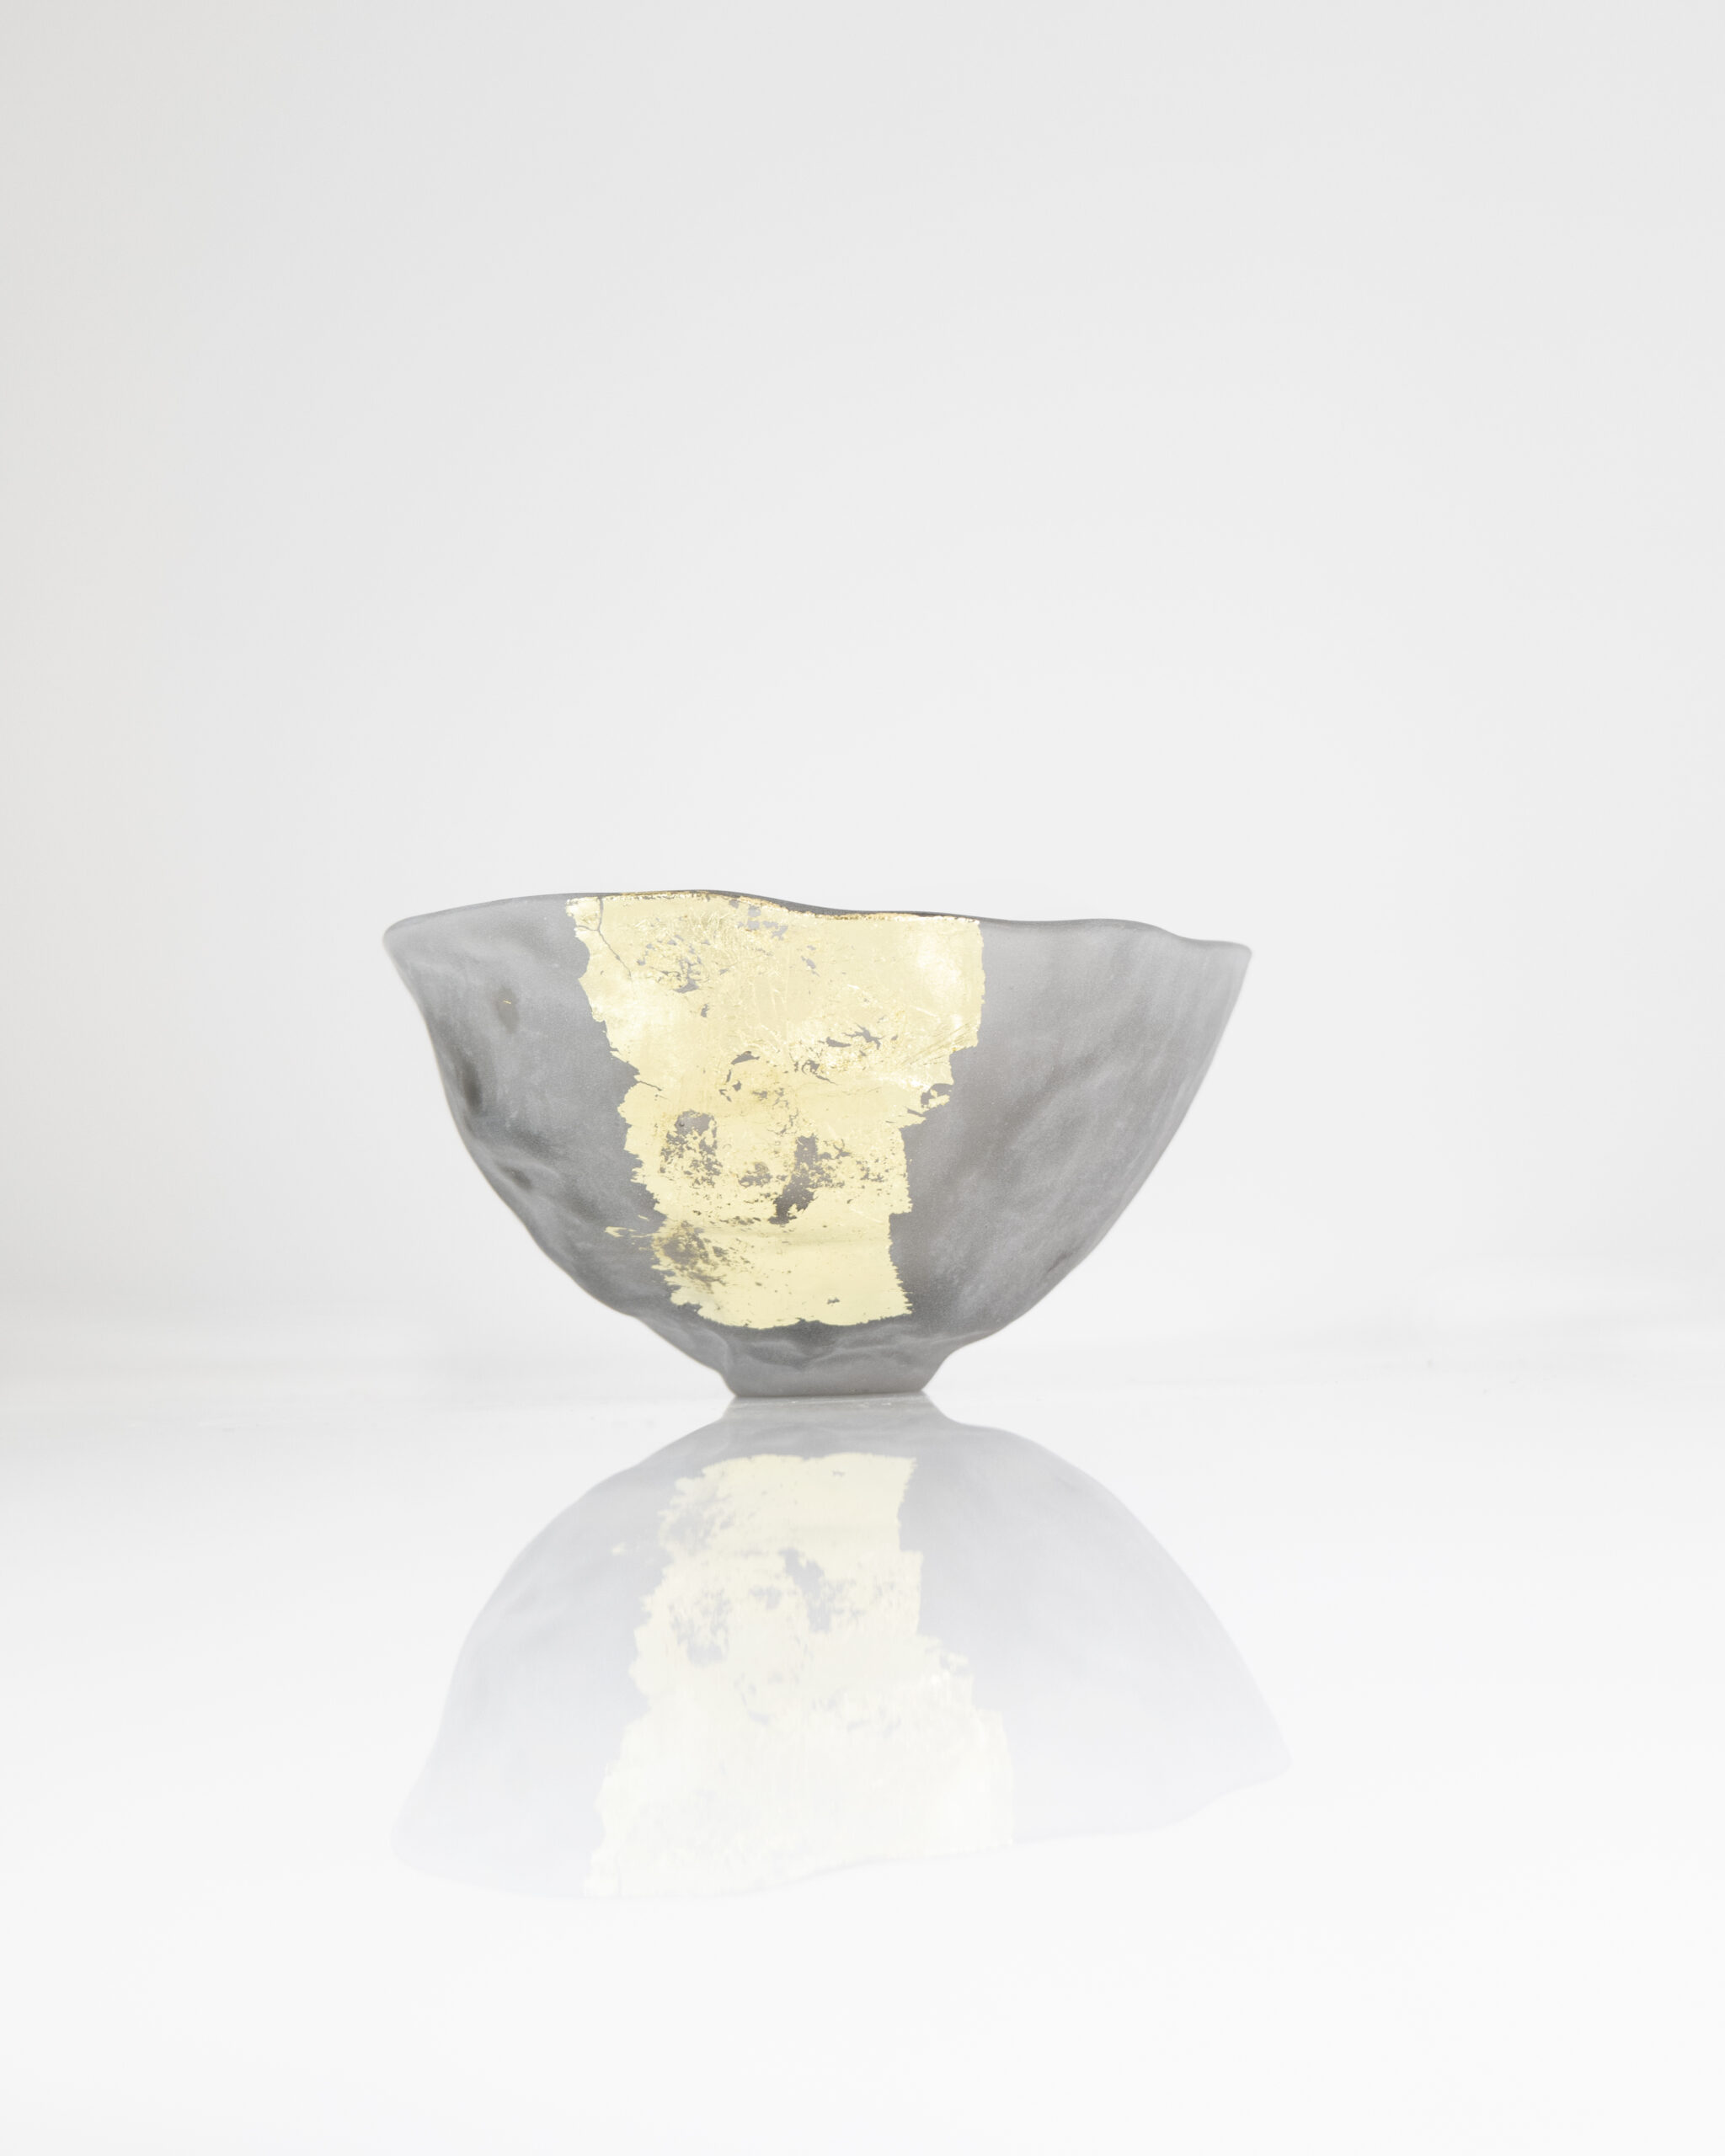
Qualities
Translucent
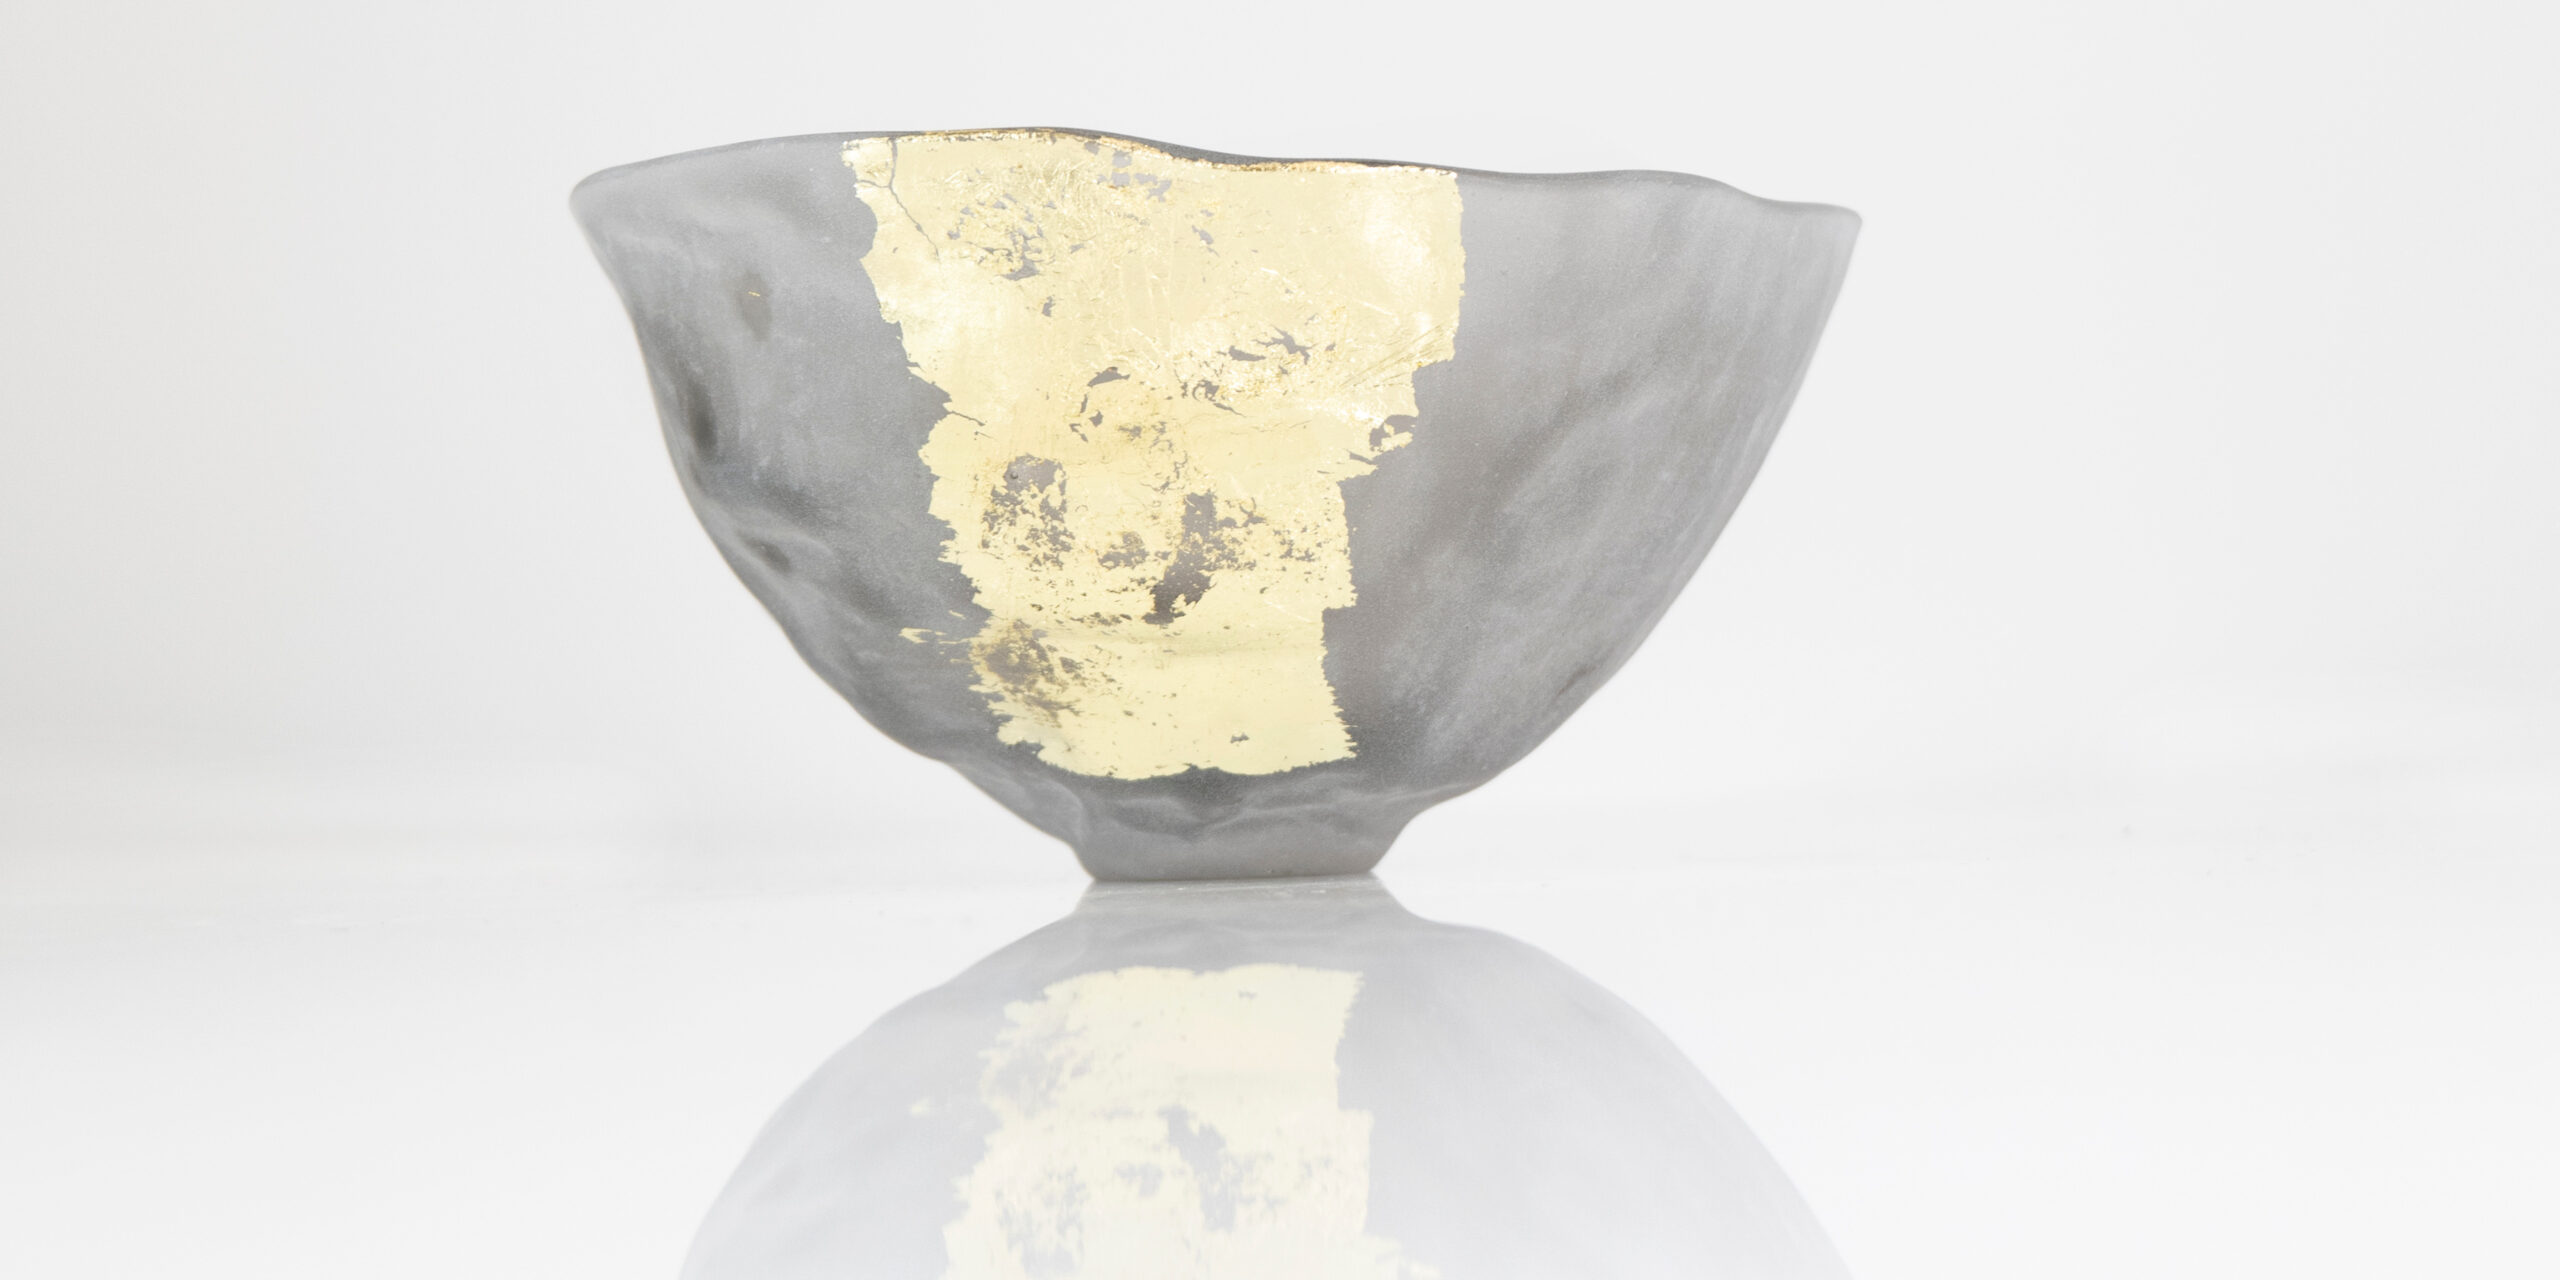
Colour
Other
Sample Information
Date of creation
October 2022
Dimensions
15cm x 6cm
Culture & Context
In the Late Bronze Age (1500BC) the first ‘hot glass’ vessels began to be made. These were made around a solid core, unlike glass blowing as we know it today which uses a hollow pipe. It was only in much later that we see the first evidence of glassblowing, around 50BC in a workshop in Jerusalem. Over time and across different geographical locations glassblowing developed with different glass mixes and different technical approaches. Mould blowing was introduced in Roman times and moulds continue to be a staple in many hot shops to this day.
Process & Production
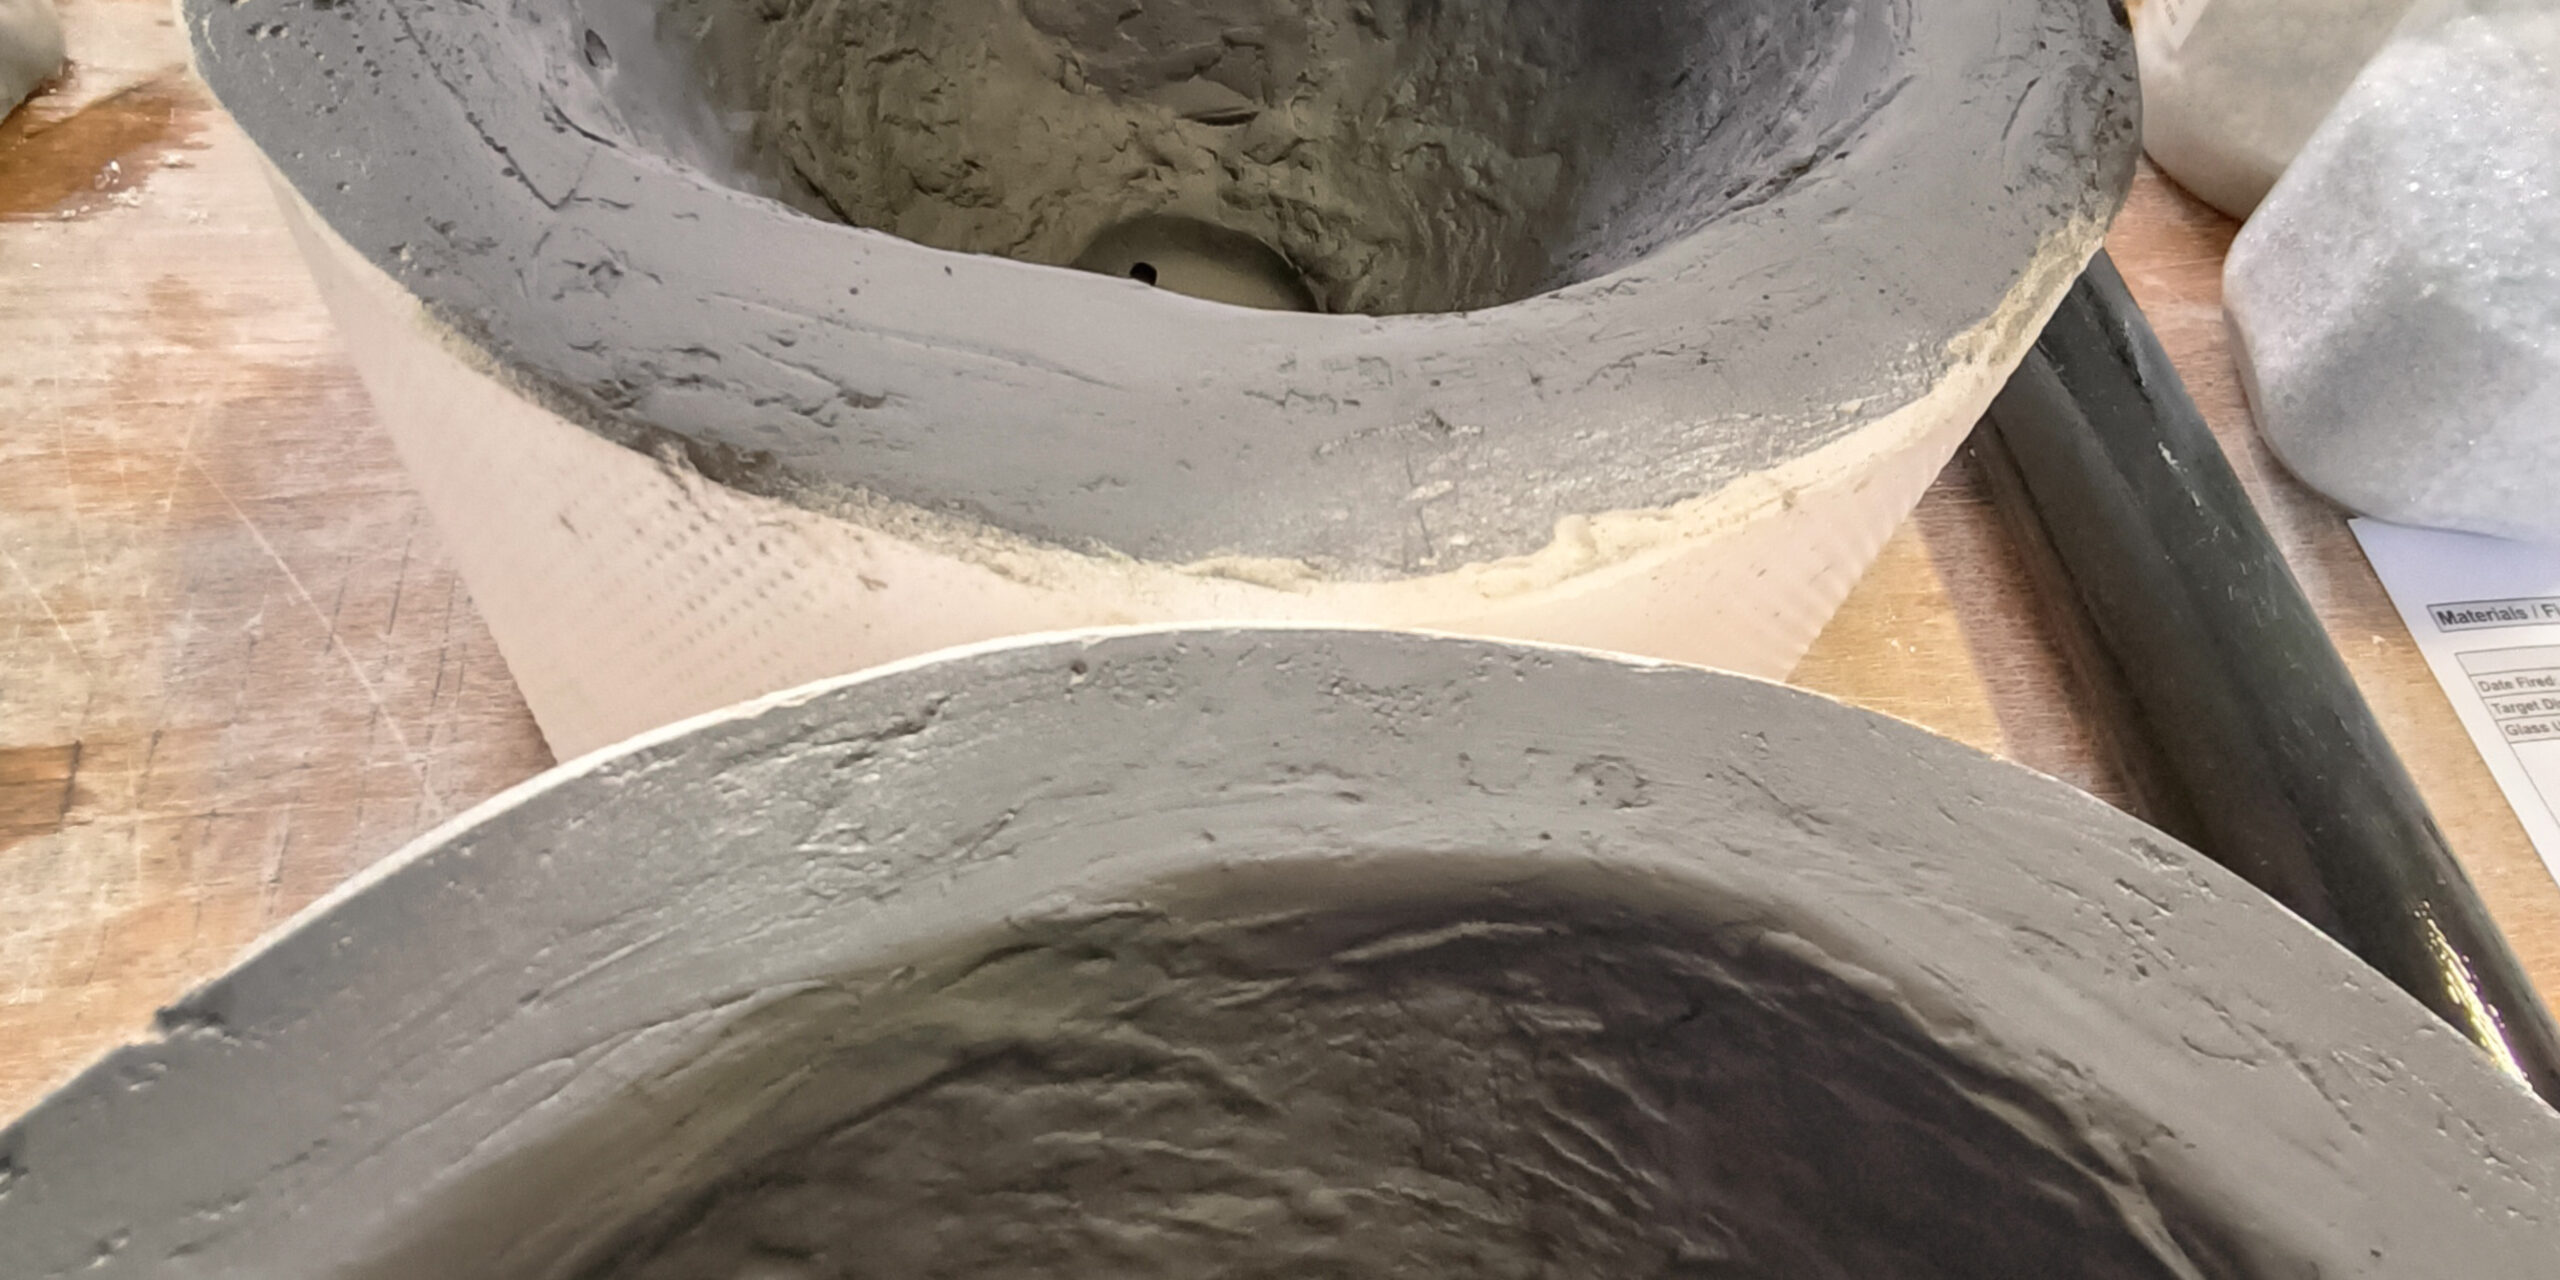
The first step in the process is to create a clay positive form from which the plaster mould will be created. The mould mix is prepared using a plaster and silica mix. Air holes are drilled into the mould and it is then left to dry to remove as much moisture as possible, this helps the glass to pick up more detail. A wet mould will create lots of steam and this pushes back against the glass being blown into the form. A thin layer of graphic powder is added to the surface of the plaster as a resist. The mould is ready for the hot workshop.
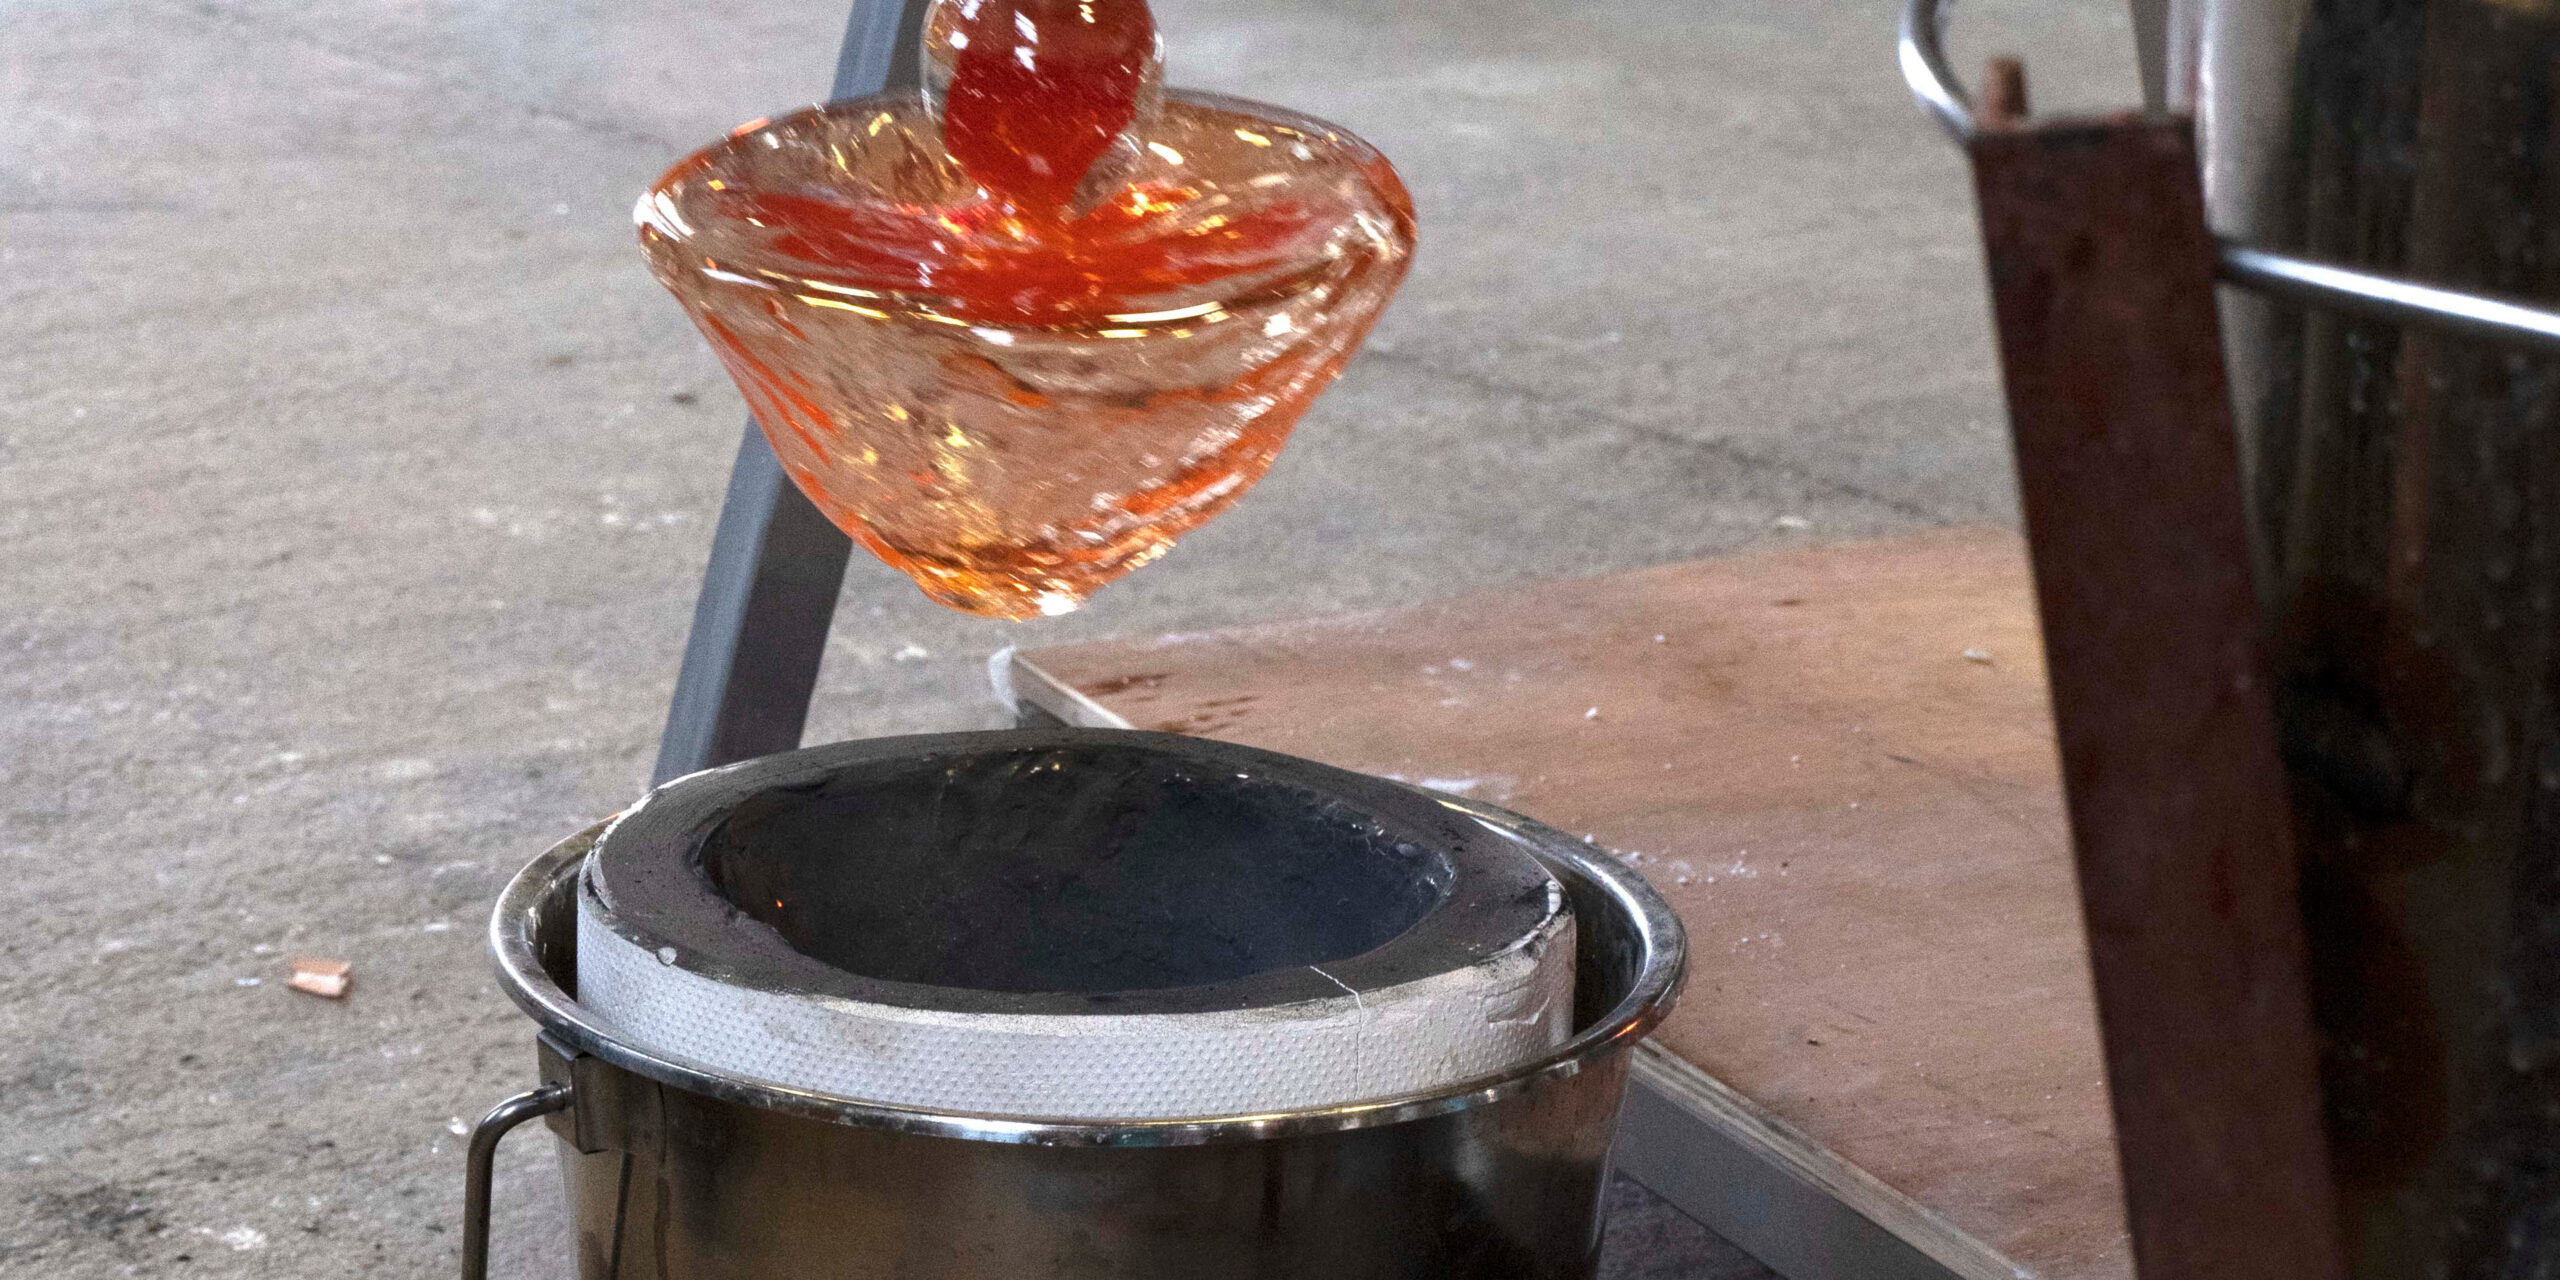
In small to medium scale glass blowing facilities, where glass is made by hand, the basic production of blown glass artefacts has not changed much since Roman times. Furnaces have become smaller, more efficient and easier to control the temperature, however the glassblowing bench and tools remain much the same.
The gaffer, the person doing the glassblowing, gathers molten glass from a furnace on a hollow blow pipe. It is important to keep the pipe and glass rotating at all times when hot (think of honey on a honey dipper). Wooden blocks, or wet newspaper is used to shape the glass. At the right temperature the gaffer blows into the pipe to add the air and create the first bubble. From this many forms can be created using a range of tools such as jacks, shears, pincers, as well as, gravity and heat.
The pre-shaped glass is then blown into the plaster mould. At the correct temperature this form is then ‘cracked off’ the blowing pipe. This rough edge can be finished later in another process called ‘cold-working’.
After production the form is placed in a kiln for cooling, a process called annealing. This is a controlled cooling that ensures that there is no stress in the glass which may cause cracking or instability.
Recipe Details
Plaster mould = plaster silica in 1:1 ratio
Glass = basic materials are sand, soda ash and limestone – colour is Reichenbach RW44, neutral grey.
Credits
Craft Maker
Fiona Byrne
Library Contributor
National College of Art & Design Ireland
Photographer
Mowenna Kearsley
Other Materials
-

Laser Raster Wood ‘Fans’
Laser Rastered Birch 3mm Plywood
-

Untitled Woman
Needle punched thread with Gouache
-

Flax weaving sample #25
weaving – flax – tactility
-

Methexis – Katharsis – Summer
-

Purl knit sample #18
Knitting – Texture – Ornamentation
-

Jungle friends
Polychromatic clay sculpture
-

Lantern
-

Platinum Silicone (Plat sil 25)
-

Experimental tiles with Jesmonite and industrial waste
Experiments with cast jesmonite tiles with varying percentages of industrial swarf waste